Pattern review: Peplum Split Tank - Matchy Matchy Sewing Club
- Jul 30, 2025
- 8 min read
Updated: Aug 5, 2025
A simple sew that is easy to follow, fun to customise, and perfect for experimenting with creative tweaks and hacks.
I’ve had the Peplum Split Tank from Matchy Matchy Sewing Club on my list for a while—and this summer finally felt like the right time to make it (twice!). I wanted something light and easy to wear, but still a bit more fun than a basic tank. The peplum adds the perfect amount of interest.
It’s a simple sew, but one of those patterns that makes you feel instantly put together. I’m already thinking about making another—maybe a printed cotton next time?!
Here’s my review of the Peplum Split Tank.
Keep scrolling to find out more about...
The makers: Matchy Matchy Sewing Club
Matchy Matchy Sewing Club was founded by self-taught sewists Amy and Theresa, who turned their passion into a thriving indie pattern brand.
They released their first pattern—the Champagne Field Dress—in January 2022. Since then, their offering has grown to include a beautifully curated fabric collection and an impressive range of sewing patterns. But Matchy Matchy is more than just patterns and fabric—they’ve created a vibrant online space where sewists can connect, share ideas, and trade tips.
What really sets Matchy Matchy apart is their distinctive design aesthetic. Their patterns are minimal yet cleverly constructed, with thoughtful panel lines and versatile silhouettes that encourage creativity and personalisation—whether it’s colour-blocking, mixing prints, or using up treasured fabric scraps. No two Matchy Matchy garments ever look quite the same!
If you haven’t already, check out their full range of patterns and fabrics on their website—or follow them on Instagram at @matchymatchysewingclub for daily inspiration.
Pattern overview
Design
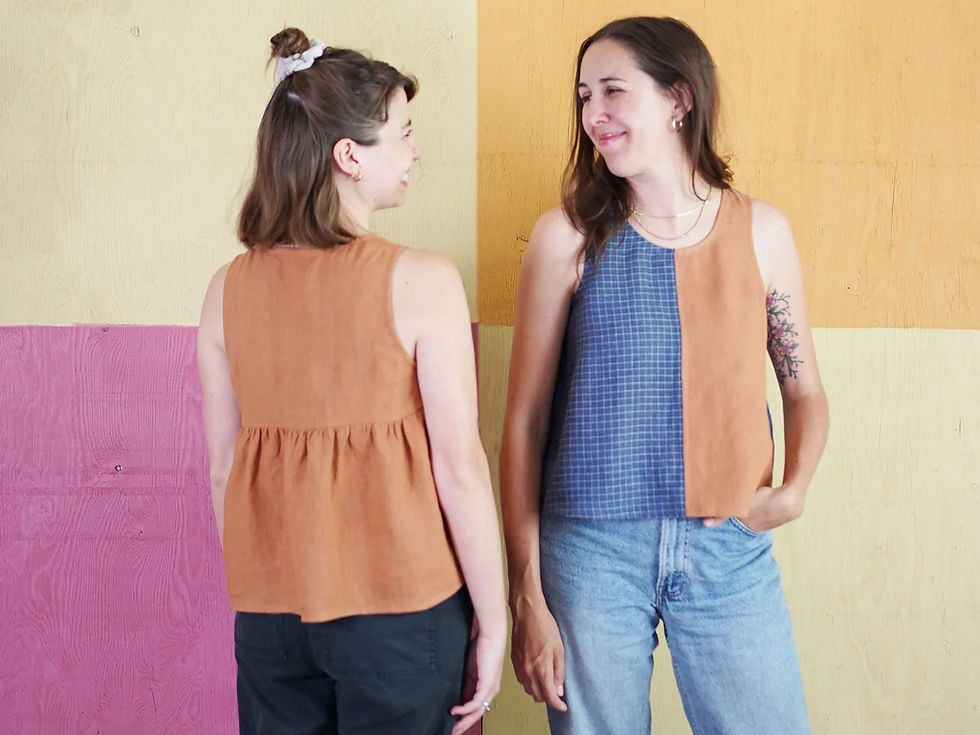
The Peplum Split Tank, true to Matchy Matchy’s signature style, embodies simplicity and versatility. Its relaxed fit and clean lines make it a wardrobe staple, suitable for all occasions, while being easily adaptable to different fabric choices.
The top comes with two views:
View A: A solid front bodice for a clean, minimalist look.
View B: Incorporates a centre seam, allowing for creative colour blocking and fabric mixing.
Featuring an A-line shape with a high gathered peplum at the back, this tank offers a flattering and comfortable fit. Both versions are designed to be cropped and dart-free, providing a versatile base for various styling options.

Skill level
To be honest, the Peplum Split Tank is for everyone—from absolute beginners to seasoned sewists!
The top is a simple project that sews up quickly, making it ideal for beginners. It's a great way to build confidence while learning key techniques like straight stitching, gathering, sewing a flat-felled seam, attaching a binding, and hemming.
With clean, simple shapes, it’s easy to follow, easy to customise, and perfect for experimenting with tweaks and creative hacks. Even experienced sewists will enjoy this quick, satisfying make.
Sizing
The pattern comes in 11 sizes ranging from XXS - 6XL.
It is drafted for a 5'5" (160 cm) individual.
What’s included
Once you have purchased the pattern you will be emailed a link that allows you to download your PDF sewing pattern. The download usually comes as a zip file. You can also access your downloads by simply logging into your account on the Matchy Matchy website.
When ordering the Peplum Split Tank, you will be provided with access to:
Sewing instructions (9 pages)
Print-at-home pattern (19 pages)
Copy shop/A0 pattern (1 page)
A mood board to help you plan your fabric choices
The digital download includes nested patterns for all sizes, available in both at-home and copy shop formats. I often wait until I have a few patterns in need of printing then send through the A0 files to a copy shop here in Germany. I keep all the sizes intact and simply fold back (clipping along any curves) the sizes I’m not using. That way, if I ever want to sew a different size in the future, it’s ready to go—no need to reprint.
Matchy Matchy’s instructions are always simple and minimal in the best way. Nothing complicated. They’re clearly written, supported by helpful diagrams, and neatly broken down under subheadings, which makes it easy to find what you need as you go. I usually skip printing the instructions to save paper and instead keep my laptop or phone nearby to reference as I sew.
Fabric and notions
The Peplum Split Tank is ideal for light to medium-weight woven fabrics such as cotton, linen, or linen blends. The pattern's design allows for creative fabric combinations, especially in View B, where the split front encourages the use of contrasting or complementary fabrics.
The only other thing you'll need to complete this top is some coordinating (or contrasting) thread.
Version 1
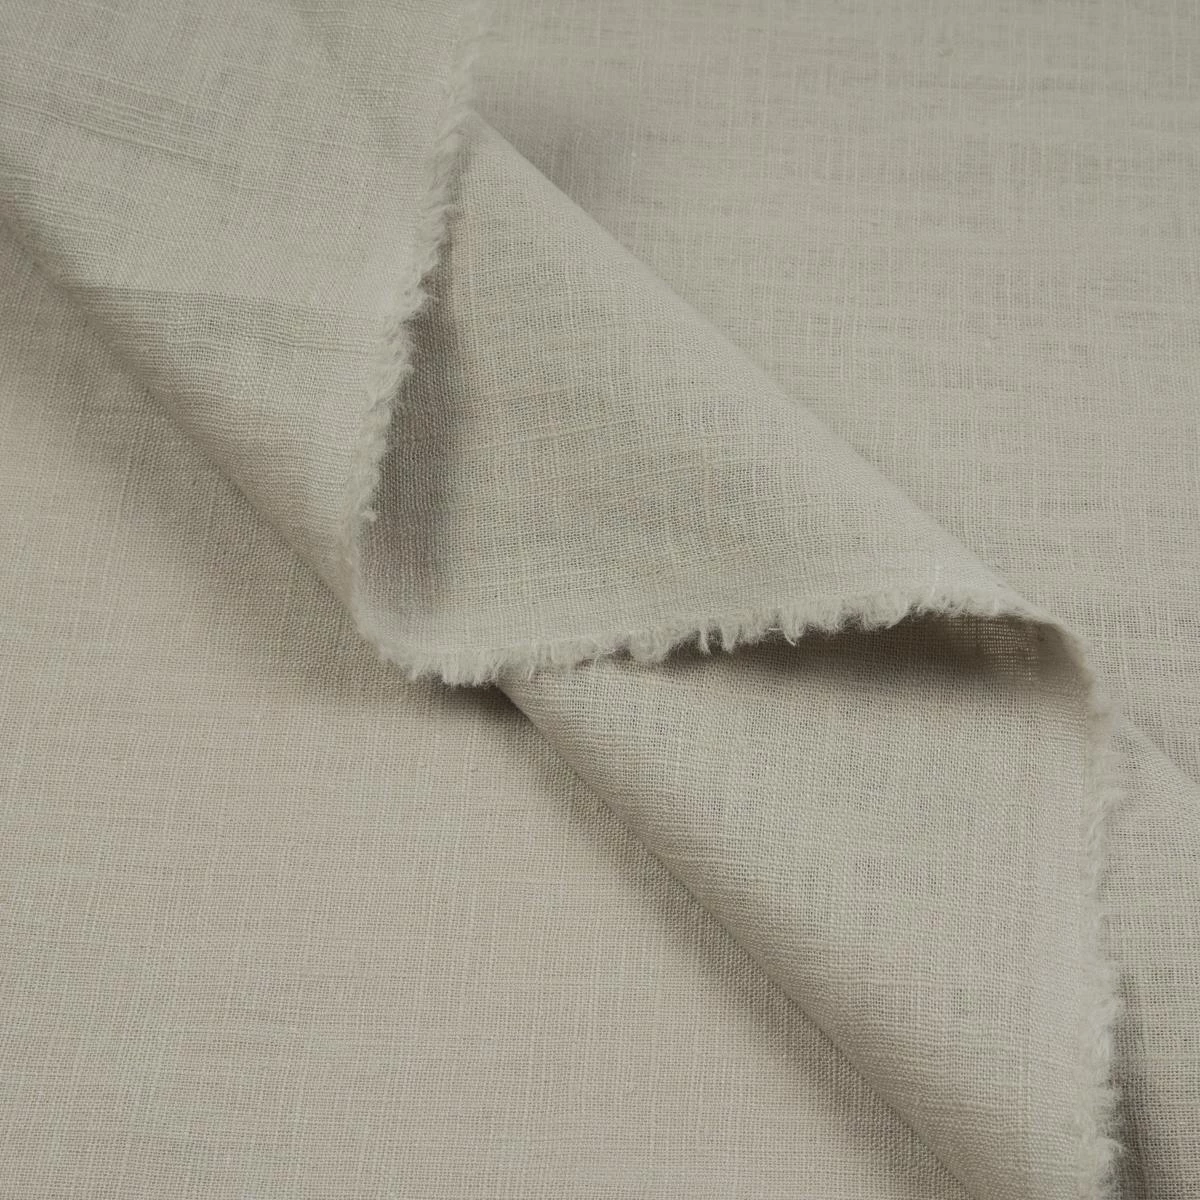
For my first version, I used some leftover fabric from my stash—a medium-weight washed linen (87% linen, 13% cotton) from Kattun Stoffe that has a lovely soft feel and that relaxed, slightly lived-in look I really like. It’s 220 g/m² with a 140cm width, so it works well for lots of garments.
I really like subtly mixing shades of the same colour—sand (left) and light beige (right)—to give it a little point of difference. It suits the simple lines of the Peplum Split Tank perfectly.

Version 2
For my second version, I repurposed a dress I’d made last year but didn’t love the fit of. The fabric is a beautiful 100% European laundered linen from Merchant & Mills, GOTS and Oeko-Tex certified, in the shade Oxblood—a rich, deep aubergine. It felt great to give this fabric a second life in a style I know I’ll actually wear.
This fabric is part of their 185 linen stock range. If you’ve been following me, you’ll know this is my go-to fabric. I wear linen all year round, even here in Munich. I simply layer my linen garments with thermals underneath. I also love that you can embrace the crumpled, "lived-in," casual look of linen. This 185 linen has a lovely hand feel, washes beautifully, and is a dream to cut and sew. There is a reason I keep coming back to it!
If you opt to mix and match your fabric, Matchy Matchy includes a mood board with the download to help you plan and visualise how different fabric combinations will look. You can position your fabric swatches in the small boxes at the bottom, or colour in the accompanying technical drawing. Alternatively, I have seen a really cute idea where someone has cut out a mini version of the garment in their different fabrics.
For some more inspiration check out #peplumsplittank on the socials to see what others have created. This is a great way to get fabric and styling inspiration.
Layout and cutting
As always, I recommend pre-washing your fabric before you start cutting or sewing—following the care instructions if provided. I tend to hand-wash my me-mades, so i do the same when it comes to the pre-wash.
Need help with pre-washing? I’ve written a guide: How to Pre-wash Fabric: A Simple Guide'.
Pattern pieces
This is a really simple pattern, made up of just five pieces:
Front (cut 1 on the fold, or cut 1 pair)
Back yoke (cut 1 on fold)
Back peplum (cut 1 on fold)
Neck bias (cut 1)
Armhole bias (cut 2)
Fabric efficiency
Being sleeveless, this top is pretty efficient on the fabric side. There are no complicated shapes to the pattern pieces so they fit together really nicely. If opting for View B, with the centre seam you can really play around with mixing and matching different fabrics (great for using those leftovers from your stash).
Want help estimating how much fabric you might need? I’ve written about that too: How Much Fabric Do You Need? A Simple Estimation Guide.
Fabric preparation
Once your pieces are cut, here are only a few small things I recommend doing before you start sewing:
As always, mark your notches and pattern markings clearly using your preferred method (chalk, pins, washable marker, etc.).
Stay-stitch the front and back neckline curves to prevent stretching—just a straight stitch around the curve, close to the seam line.
If making your own binding, fold and press.
Construction
As I mentioned earlier, this is a fantastic beginner-friendly project—easy, enjoyable, and low-stress from start to finish.
This pattern is ideal for anyone looking to practice essential techniques with simple shapes and straightforward construction. It will help build confidence covering key skills like straight stitching, gathering, sewing a flat-felled seam, attaching binding, and hemming.


The instructions are clear and well laid out, with helpful step-by-step diagrams that guide you through. Honestly, the sewing itself is straightforward, with the top coming together really quickly.
Size and fit
My measurements:
Bust: 79cm
Waist: 62.5cm
Hips: 89cm
Height: 155cm
The pattern is drafted for a height of 5'5" (165cm), and you're encouraged to choose your size based on the finished garment measurements.
I went with the size XXS and didn’t run into any fit issues. I’m on the shorter side (155 cm), but I found the length worked well on me—it finished right around the high hip, which felt balanced while maintaining the boxy shape.
If you prefer a longer or shorter fit, it would be super easy to adjust. As the pattern pieces are simple and rectangular, you could easily add or remove length to suit your style.


Styling
This top is so comfortable to wear. The cropped length works perfectly with high-waisted bottoms, which makes it super versatile.
I’ve styled mine a few different ways—paired with denim jeans for a casual look, baggy linen trousers, and shorts. Honestly, it works with just about anything.
It really is just an effortless, easy throw-on piece that feels good every time. I will make you feel put together without even trying!


Personal reflection
Why did I choose to make this?
The weather here in Munich has definitely been warming up lately—when it’s good, it’s really good! I love a peplum top, and honestly, I can’t resist making one. I was looking for some simple, easy-to-throw-on tops that go with just about anything, and I wanted to use up some leftover linen I had in my stash.
What I loved:
I really appreciate the simplicity of this pattern—so versatile and fuss-free. Honestly, I don’t think I’ve ever made a Matchy Matchy pattern I didn’t love. If I had to sum up my style in one brand, it would be theirs: uncomplicated, modern, and full of ease. Their designs focus on simple shapes, nothing too fitted, and always feel relaxed.
This pattern lets the fabric shine and makes sewing enjoyable. You can keep it basic as an everyday staple or add your own twist to make something more unique. It’s definitely one you’ll want to come back to again and again (I certainly have).
What I might do differently next time:
Since the design is so simple, I’m thinking of trying out some fun details or different fabrics for my next version. I’ve even seen a similar top that used three different colours of binding on the neck and armholes—a really cute detail I’d love to try.
Would I recommend this top and to whom?
For sure!—this is a 5/5 for me. A must-make for beginners and seasoned sewists alike. It's a low-pressure, high-reward kind of sew and so easy to put your own spin on.
Please get in touch or leave me a comment. I would love to know if I have inspired you to check out the Peplum Split Tank from Matchy Matchy Sewing Club.
Thanks for reading.
Emma xx
This is a personal blog. Any views or opinions contained on this site are my own. Unless stated otherwise, I am not affiliated with any brands, products, or organisations mentioned, and do not receive any sponsorship, payment, or other compensation for any of the content on this site.


Comments